Checkpoint 5 – Read Data from a Pressure Sensor
Goals for this Checkpoint:
·
Get the Arduino to collect data from a pressure sensor.
·
Visually display data from the pressure sensor
·
Figure out how to use the pressure sensor in water
·
Make a graph in VPython (if time
permits)
Step 1: Create a program that will read the voltage
from a pressure sensor.
A MPX4250AP-ND pressure sensor
has been included in your kit. It works
similarly as your light sensor did.
Thus, you are going to create a circuit similar to your light sensor
circuit. You won’t need the 500W resistor as the resistor is built into the pressure sensor.
Step 2: Create a visually pleasing graphical output
that can help a person see pressure readings.
Step 3: Here is the first real step in construction
of your underwater Remotely Operated Vehicle (ROV) where you are going to have
to take into account our dreaded enemy water.
Your pressure sensor needs to detect the pressure of water at a certain
depth and, of course, your Arduino will not fare well in a submerged
environment. Thus, you are going to have
to eventually decide if and how you are going to keep your Arduino waterproof
or decide if
Waterproofing the Some tool and
components you can use include:
·
Glue guns
·
Ethernet
cable
·
Soldering
irons
Step 4: If time permits, learn some more VPython:
·
Learn how
to use a “label” at vpython.org.
·
Learn how
to create a graphical VPython output of you data by
going to: http://www.vpython.org/webdoc/visual/graph.html
MPX4250 Schematic
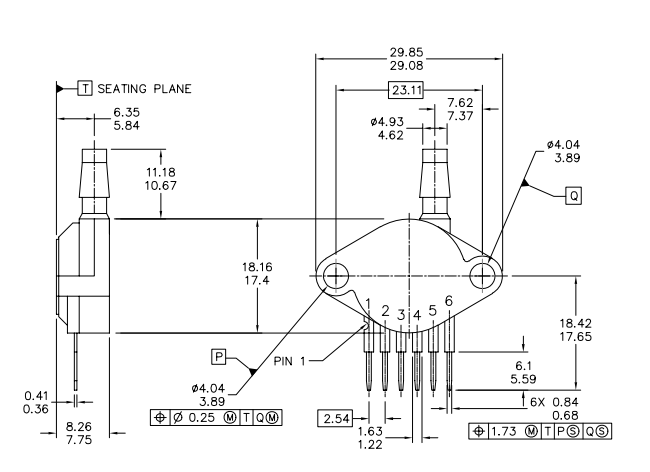
Pin 1: Vout
Pin 2: Ground
Pin 3: Vcc
Pin 4: V1
Pin 5: V2
Pin 6: Vex